What is bird nesting?
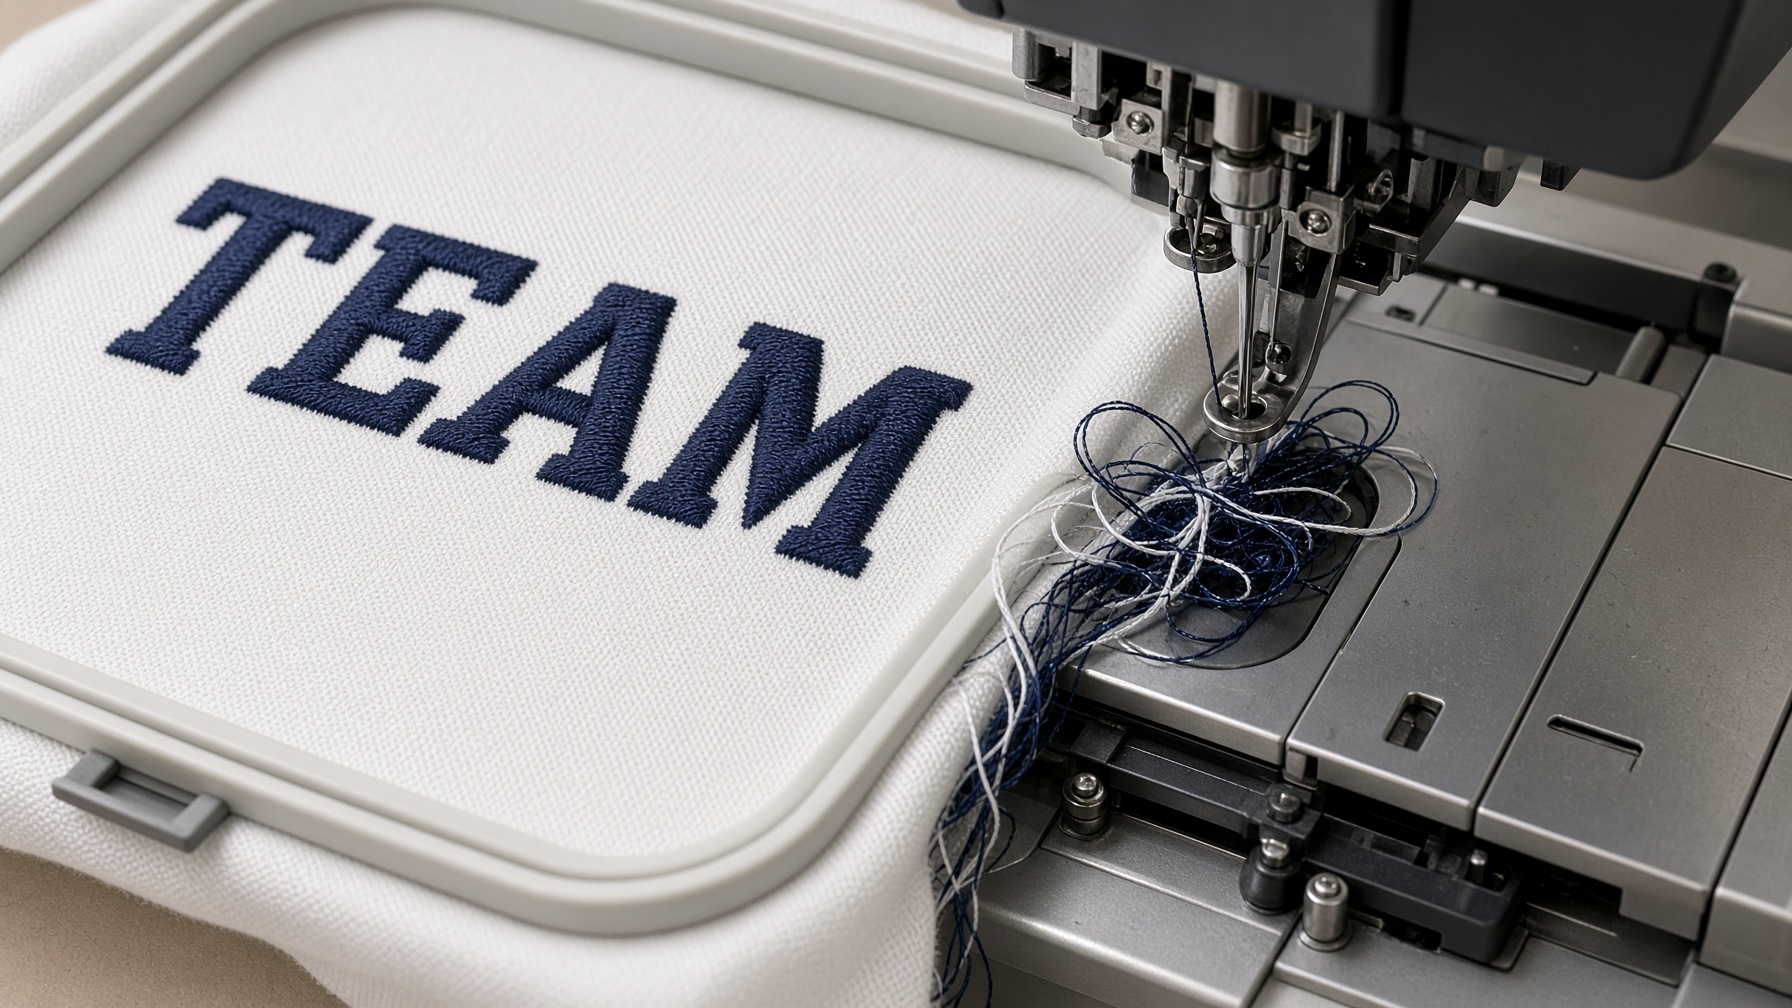
You hoop the fabric, thread the machine, and start the design. Then the sound changes, or the machine stops. When you look under the hoop, a bundle of thread is knotted against the fabric.
That is bird nesting. The upper thread and the bobbin thread are supposed to lock into a stitch. When they do not, loose thread piles up underneath instead of forming a balanced stitch. The top of the design can look normal at first, so the nest is easy to miss until the hoop will not lift.
It happens to beginners and to people who have stitched for years. Threading, the bobbin, tension, a damaged needle, the thread, the fabric, or the design file can all be involved. Most cases clear after a few careful checks.
Stop the machine as soon as you see a nest. Stitching on tightens the tangle, can bend or break the needle, and strains the machine.
A nest can show up as any of these:
- Large loops of thread under the hoop.
- A clump of upper thread and bobbin thread together.
- Fabric stuck to the needle plate.
- A broken upper thread, or the machine stopping again and again.
- A distorted design, or fabric that is already damaged.
- A needle trapped in the tangle.
Because the mess is underneath, it is easy to blame the bobbin. The upper thread is a frequent cause. Check the whole threading path before you change bobbin tension.
What bird nesting looks like
The two sides of the same design can disagree. Satin stitch lettering on top can look acceptable while the underside is a knot the machine cannot move through. Dense athletic letters, such as a varsity satin stitch font, are a common place for this. Browse the embroidery font catalog if you are stitching names and numbers.

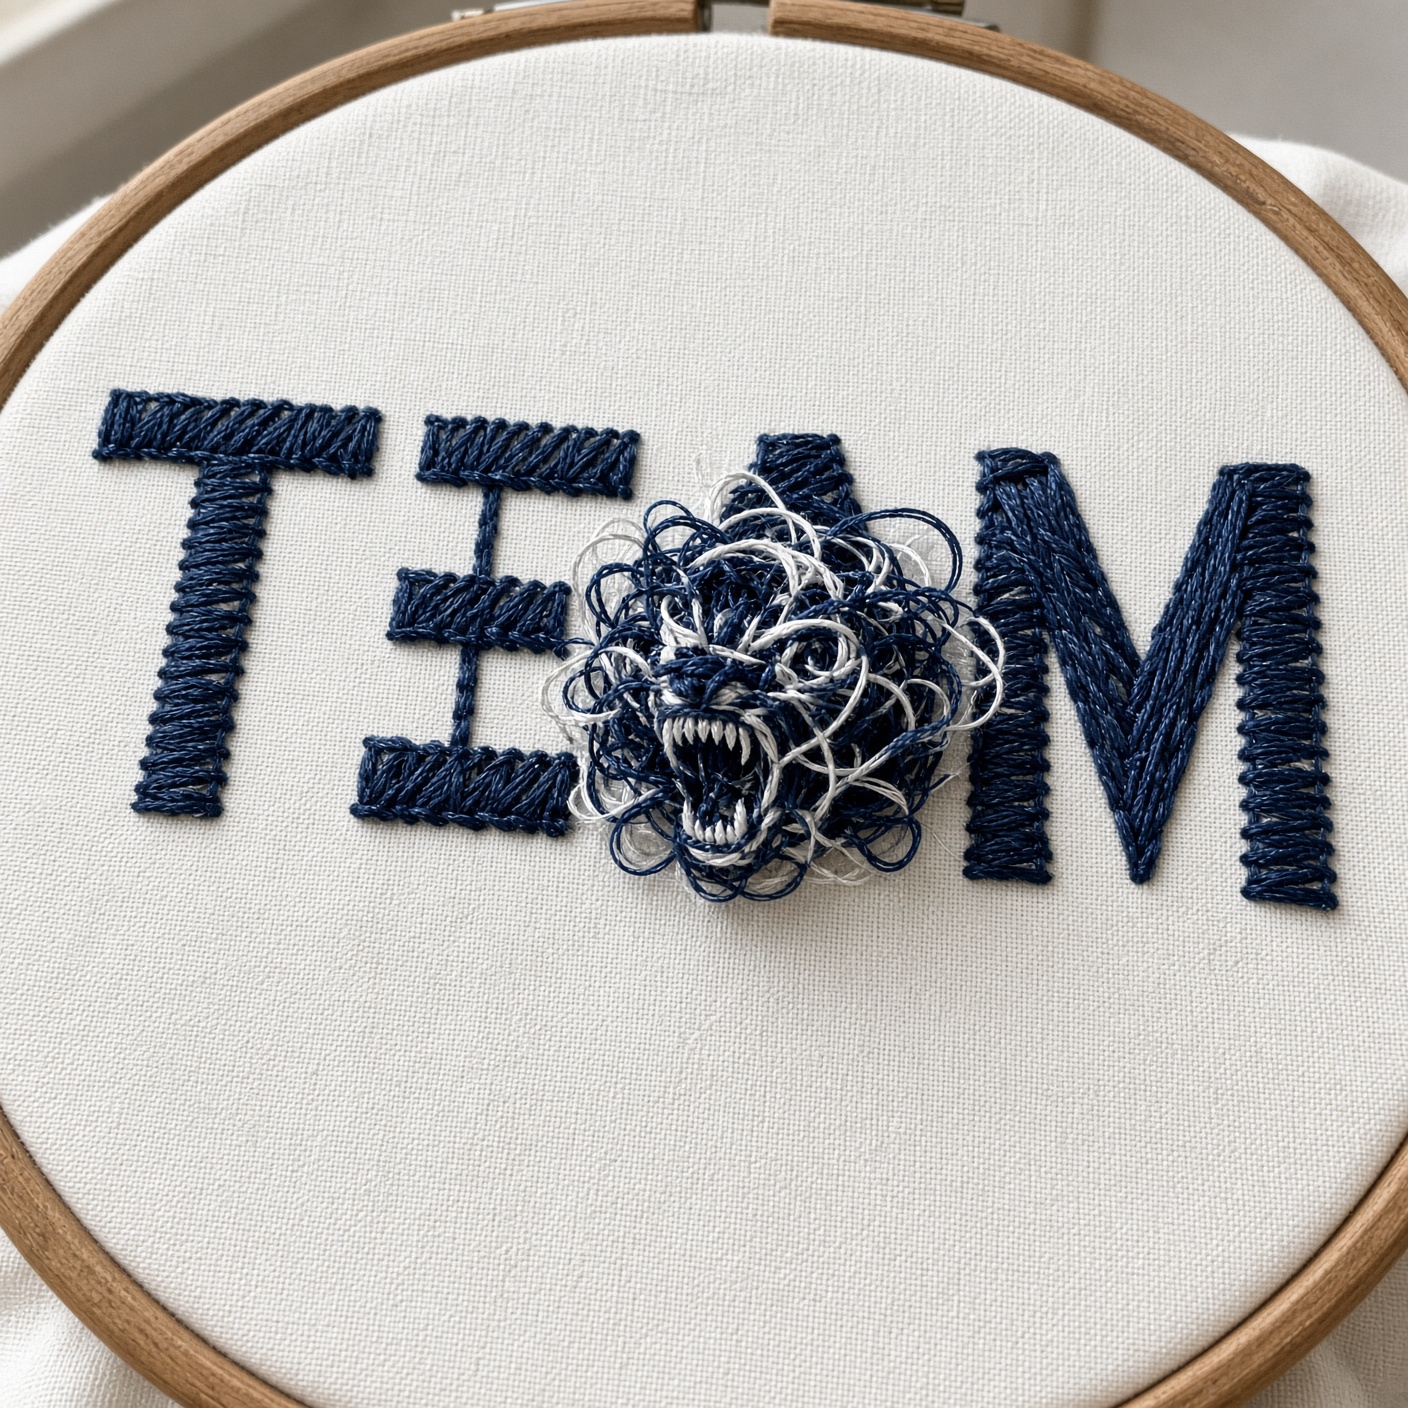
- Loops under the fabric. They gather around the bobbin area or under the hoop.
- A new sound. Knocking, clicking, or a change from the usual stitch sound. Stop if it sounds wrong.
- Fabric stuck to the plate. The thread grips the fabric so the hoop will not lift.
- Stitching that fails suddenly. The machine stops, the upper thread breaks, or stitches go loose.
- A thick bundle at the needle. Thread packs between the fabric and the plate and can trap the needle.
The most common causes
There is rarely one explanation. Start with the simple checks before you assume the machine needs repair.
- 1
Incorrect upper threading
If the upper thread misses a guide, misses the tension discs, or skips the take-up lever, the machine cannot control it. Extra thread then collects under the fabric.
This often happens when the presser foot was down while you threaded a machine that needs the foot raised. The discs stay closed and the thread never seats.
- Follow the threading path in your machine manual.
- Raise the presser foot when the manual says to.
- Check every guide and the take-up lever.
- Rethread from the spool if anything looks doubtful.
- 2
Incorrectly installed bobbin
The bobbin supplies the lower thread. An upside-down bobbin, a missed guide, an uneven wind, or lint in the case can stop that thread from feeding.
Direction is not the same on every machine. Use the manual, not a guess from another model.
- Stop the machine and remove the hoop only if it comes out without force.
- Take the bobbin out the way the manual describes.
- Look for uneven winding, damaged thread, lint, and a case that is not seated.
- Reinstall the bobbin and follow the marked path.
If the case is damaged, or thread stays trapped after you clean it, ask the manufacturer or a technician.
- 3
Incorrect thread tension
Tension decides how the upper thread and the bobbin thread lock. When it is wrong, stitches look unbalanced and loops can pile up underneath.
A nest under the fabric does not automatically mean the bobbin tension is loose. Bad upper threading looks the same.
Rethread and check the bobbin before you touch tension. If it still nests, make a small change on scrap fabric, using the settings in the manual. Do not make a large bobbin-case change without those settings.
- 4
A damaged, bent, or unsuitable needle
The needle carries the upper thread through the fabric so the hook can catch it. A bent, dull, or backwards needle, or the wrong size for the fabric and thread, breaks that step.
Check the needle if the nest comes back, especially after the needle has hit the hoop or the needle plate.
Replace a damaged needle. Do not straighten it. Seat the new needle fully, in the orientation your machine requires.
- 5
Poor-quality or damaged thread
Old, brittle, or fraying thread feeds unevenly and breaks. Thread that snags on the spool, the spool cap, or a rough guide does the same.
Try a fresh spool made for embroidery. The spool should turn freely and the thread should unwind without catching.
- 6
Fabric movement and weak stabilizer
Fabric that shifts can distort stitches and, in some cases, add to a tangle. Use a stabilizer that matches the fabric and the design. Hoop both layers firmly without stretching the fabric.
Knits, thin fabric, and dense lettering need more support than a stable woven cotton.
Stabilizer is not the first explanation. Check the threading and the bobbin before you blame the hoop.
- 7
Dense designs and unsuitable stitch settings
A very dense design packs too many stitches into one area. That builds thread, stresses the needle, and can nest at the same spot every time.
If the nest always starts at the same place in one file, look at that file. Shrinking a stitch file too far also packs the stitches and makes them worse. A lettering font should be used near the height it was digitized for.
- 8
Lint, debris, or a mechanical fault
Lint and loose thread around the bobbin area can stop the hook from catching cleanly. A damaged bobbin case or a rough thread path can do it too.
Turn the machine off before you clean, and clean only what the manual allows. If the needle is hitting metal, or the nest continues after the basic checks, stop and get the machine serviced.
Lettering that is typed in Embrilliance, then saved in the format your machine reads, avoids shrinking a stitch file down to an unusable density. See how to stitch big words on a small hoop, how to install a BX font, and which embroidery file your machine uses. Script lettering needs the same care: the French Script embroidery font and Heart Monogram Satin Script are meant to be stitched near the height they were digitized for. Applique letters follow a different order, covered in how to stitch machine applique.
How to fix bird nesting
Work through these in order. Stop when the test stitch is clean. Do not skip ahead to tension.
1. Stop the machine immediately
Do not press start again and hope the tangle clears. Stop stitching. Turn the machine off before you reach into the needle or bobbin area, as the manual requires. If the needle is stuck in the fabric, do not yank the hoop. Use the release steps in the manual.
2. Remove the tangled thread carefully
If the hoop lifts without force, take it off. Cut the nest with small snips. Do not pull a tight bundle. Pulling can tear the fabric, ruin the stitches, or bend the needle. If the needle is trapped or the hoop will not release, stop and follow the manual, or call a technician. Clear loose thread from the bobbin area only as the manufacturer allows.
3. Rethread the upper thread completely
Take the upper thread out and start again at the spool. Follow every guide, the tension path, and the take-up lever. Raise the presser foot first if your machine needs that so the thread can enter the discs. Check that the thread is not wrapped around the spool pin.
4. Remove and reinstall the bobbin
Look for an uneven wind, loose thread, lint, or damage. Put it back in the direction your machine uses, and follow the marked path. Seat a removable bobbin case without forcing it. Rewind or replace a bobbin that is poorly wound.
5. Inspect the needle
Replace a needle that is bent, dull, or burred. Use a type and size that suit the fabric and the embroidery thread, and install it the right way. If the needle struck the hoop or the plate, look for damage there before you start again.
6. Check the thread path and cleanliness
Look for lint and loose thread in the bobbin area the manual says you may clean. Do not oil a spot unless the manual names it. The upper thread should leave the spool smoothly and not catch on the spool cap.
7. Test on scrap fabric
Hoop a similar fabric with the same stabilizer. Stitch a few letters or a small design with the same thread. Watch the first stitches and stop at once if thread bunches underneath. If the test is clean, go back to the project and check the underside often.
8. Investigate if it comes back
If the nest returns after correct threading, a good bobbin, and a sound needle, do not keep changing tension. Try a new spool. If it happens in one part of one design, inspect that file. If it happens on many designs, or the machine sounds wrong, contact the manufacturer or a qualified technician.
How to prevent the next nest
Clearing a tight knot takes longer than the checks that stop one. Use the same short routine before every project.
- Thread the same way every time. Follow the manual. After a color change or a break, check that the thread is still in every guide.
- Check the bobbin before you start. Use an even wind, the correct direction, and a bobbin that feeds without catching.
- Change a worn needle. Replace a dull or damaged needle, and match the needle to the fabric and thread.
- Match the stabilizer. The stabilizer should suit the fabric and how dense the design is. Hoop it securely.
- Use a design that fits the job. The file should suit the machine, the hoop, the fabric, and the finished size. If one design nests in the same place, do not stitch it again unchanged.
- Clean on the schedule in the manual. Keep lint out of the bobbin area, and book a service when the machine needs it.
- Watch the first stitches. Stay with the machine at the start of a project. Check the underside before a small loop becomes a knot.
Quick checklist
0/10 checked
Questions
Why is my embroidery machine bird nesting underneath the fabric?
It is often incorrect upper threading, a bobbin that is not installed correctly, or tension that does not suit the thread. The needle, the thread, the fabric, and the design can also be involved. Remove the tangle safely and rethread before you change tension.
Is bird nesting always caused by bobbin tension?
No. The mess is under the fabric, but the upper thread is a common cause. A missed guide can dump a mass of thread underneath. Check the threading and the bobbin before you adjust tension.
Can I continue embroidering after bird nesting occurs?
Stop at once. Clear the tangle, check the needle and the thread path, and find a likely cause before you start again. Stitching on will tighten the knot and can damage the fabric or the machine.
Why does bird nesting happen with only one embroidery design?
If it starts at the same point in one file, look at that file. Dense areas, stacked stitches, or a bad sequence can cause it. Stitch a different design to see whether the machine or the file is the problem.
Can a new needle prevent bird nesting?
A correct, undamaged needle fixes the cases caused by a bent or dull needle. It will not fix a threading or bobbin mistake. Check those too.
Should I adjust the bobbin tension to fix bird nesting?
Not first. Rethread and reinstall the bobbin. Change tension only when you have a reason, and only the way the manual describes. A large tension change can create a new problem.
A nest is usually a setup problem
Stop when you see tangled thread. Cut the nest free without forcing the hoop. Rethread, check the bobbin and the needle, then test on scrap before you go back to the project.
If it keeps happening, see whether one design file is the cause, or get the machine looked at when the sound or the needle strike says something mechanical is wrong. Checking the underside early, before a loop becomes a knot, protects the fabric and the machine.
Related reading: install a BX font · Embrilliance Essentials · which file your machine uses · how to stitch applique · Baseball Lobster script · applique embroidery font bundle